Looks Builder: Preferences Panel
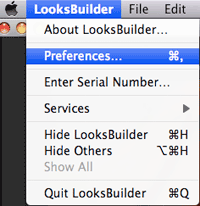
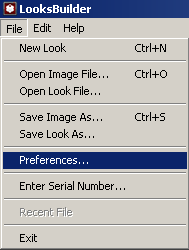
You can access the LooksBuilder Preferences from the Application menu on the Mac (LooksBuilder> Preferences). On Windows, you access Preferencees through the Edit menu (Edit> Preferences).
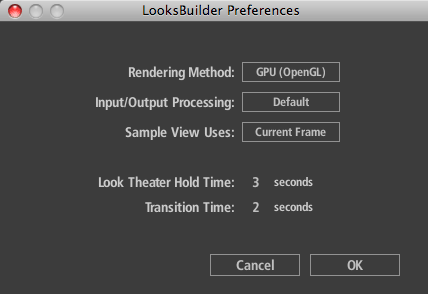
On both Mac and Windows, there are five controls in the Preferences panel.
![]()
![]()
Access the Preferences on Mac (left) and Windows (right). Choosing that menu item opens the LooksBuilder Preferences window.
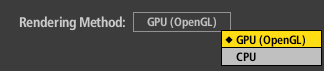
Rendering Method
The Rendering Method pop-up gives a choice of using your computer's GPU or CPU for rendering. This option is important for working with large images. By default, the GPU option is chosen. Note that the GPU method is prefered in LooksBuilder and will allow for practically real-time feedback of the changes you make to the Tool controls. The CPU engine will be used whenever the image dimensions exceeds the maximum texture size on your GPU. That means for smaller images such as those from video or destined for the web, the GPU will be used. For images larger than 4096x4096, the CPU engine will be used to generate final output. The CPU engine is usually 4-5 times slower than the GPU BUT it allows for much larger image sizes—in this case the Looks render trades speed for image size flexibility. No matter which engine is used to process the image, the result in Photoshop will look identical.
Input/Output Processing
There are a couple of panels in LooksBuilder. By default, only the Look panel only is active. This panel limits you to color adjustments that you can make in the Tool Chain within LooksBuilder. (Keep in mind that this gives a huge amount of control and is really not limiting at all.)
The Input/Output Processing pop-up can change this. If you change I/O Processing from its Default mode to the Advanced mode, then three tabbed panels open: Input, Preview and Output. These panels allow you to access the underlying display and linearization transforms for the LooksBuilder engine. THESE CONTROLS ARE INTENDED FOR ADVANCED USERS WHO HAVE UNUSUAL COLOR WORKFLOWS OR MEDIA FORMATS. Read more abou I/O Advanced panels on this page.
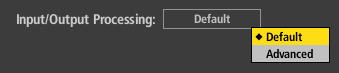
Preference setting for Input/Output Processing.

Default mode shows only the Look panel.

Advanced mode keeps the Look panel and opens the Input, Preview and Ouput panels.
Sample View Uses
The Sample View Uses pop-up determines how PhotoLooks displays its Look presets and other color design choices. There are two choices.
Current Frame tells LooksBuilder to display whatever image is active and visible when LooksBuilder is launched. This option is chosen by default.
Sample Image displays a separate image provided by PhotoLooks. This option is good to use in cases where the Current Frame or source image is difficult to preview.

Look Theater Hold Time
Hold Time sets the amount of time that each Look is previewed during the Look Theater slide show. Default setting is 3 seconds. The hold time can be between 0-10 seconds.
Look Theater Transition Time
The Transition Time designates the amount of time dedicated to the fade between Looks in the Look Theater. Default setting is 2 seconds. The fade can last up to 10 seconds